分享到......
- 前端如泥沼,自学需谨慎
- WePY: https://wepyjs.gitee.io/wepy-docs/2.x/#/
- Vant Weapp: https://vant-contrib.gitee.io/vant-weapp/#/home
开发环境
- IDE:vscode
- 开发平台:微信开发者工具
- 框架:WePY
- UI组件库:Vant Weapp
准备
1. 全局安装WePY
$ npm install @wepy/cli -g # 全局安装 WePY CLI 工具
$ wepy init standard YOUR_PROJECT_NAME # 使用 standard 模板初始化项目
$ #
$ # 脚手架配置,以实际情况来
$ #
$ cd YOUR_PROJECT_NAME # 进入到项目目录
$ npm install # 安装项目依赖包
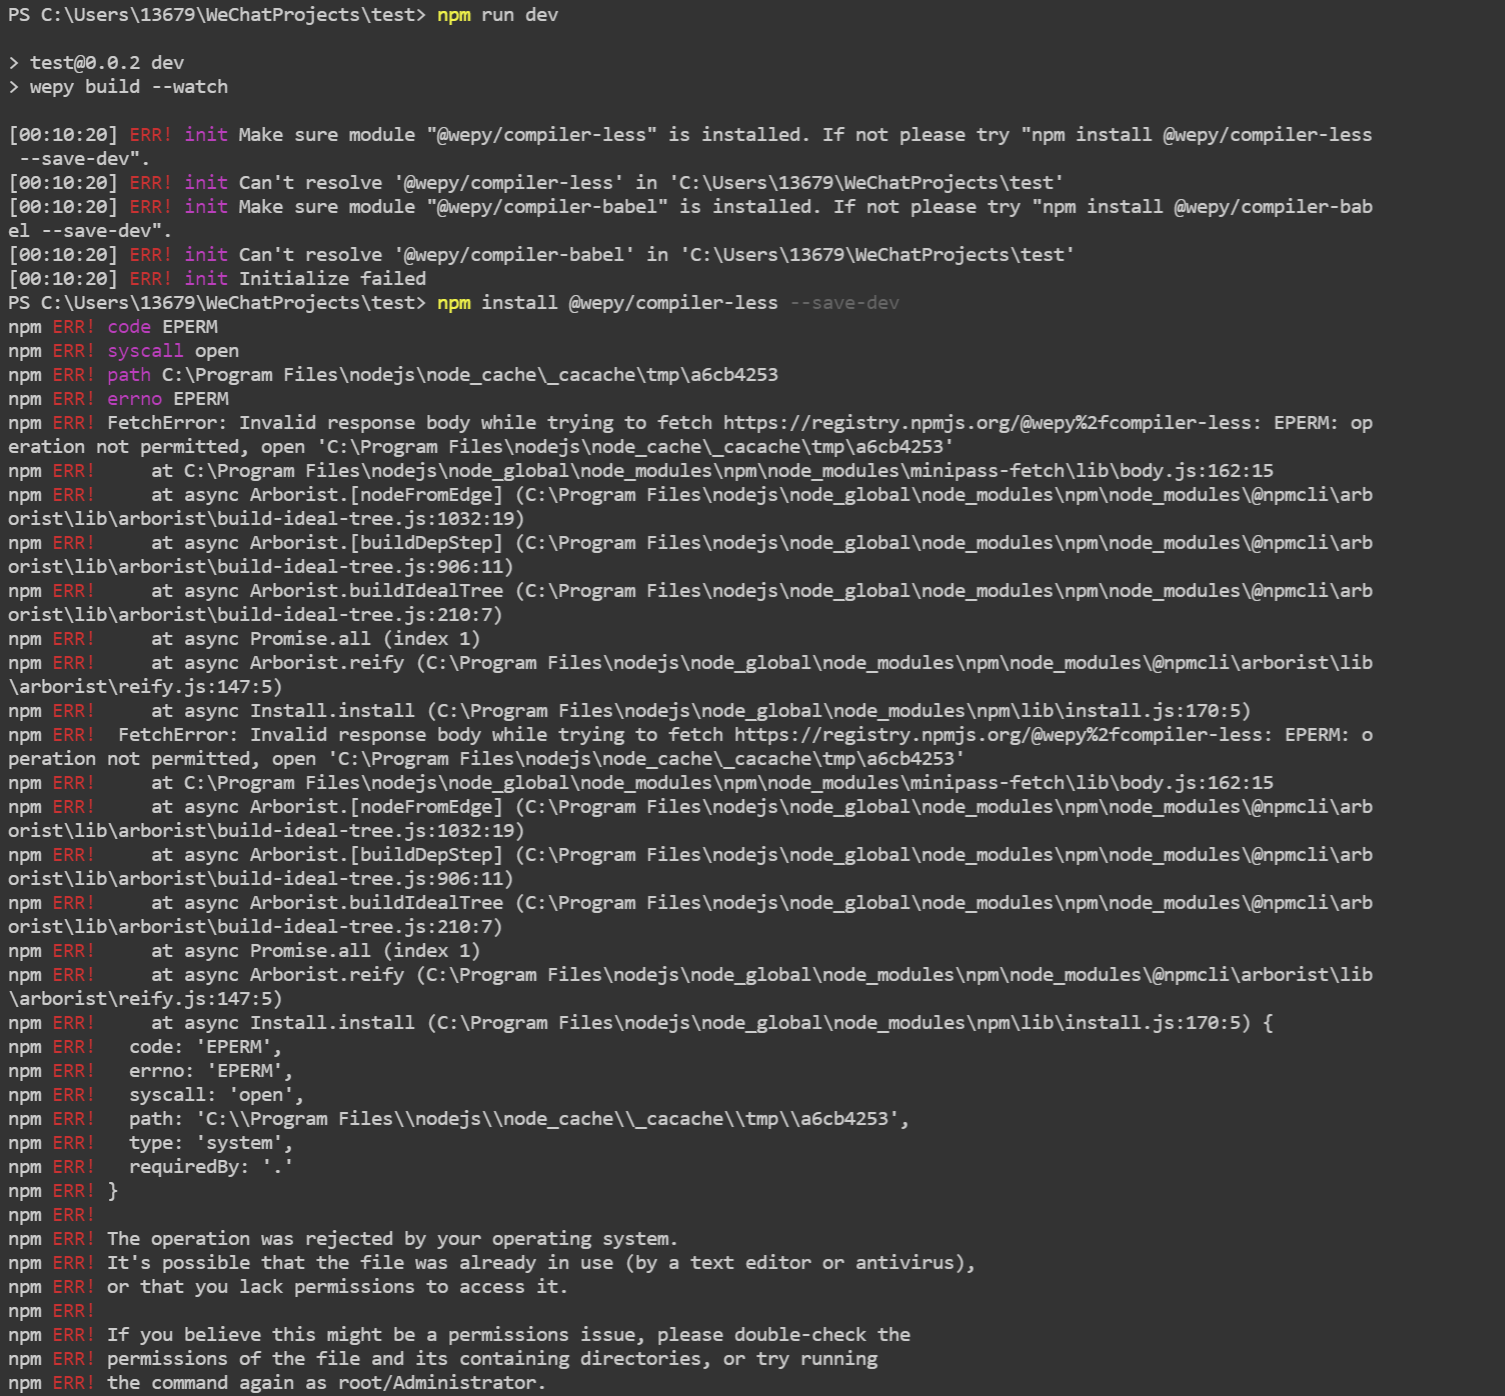
$ npm run dev # 监听并且编译项目(可滞后)
$ npm audit fix # 狠狠抱怨一下:疼讯自己的框架有天美13个vulnerability无法自动修复
2. 安装vant-weapp组件库
# 通过 npm 安装
npm i @vant/weapp -S --production
3. 趟浑水
坑の1:引用component
由于wepy过于特殊,直接把vant官方文档里的“快速上手”无效化。改成要这样写:
<template>
  <div class="container">  <!-- 根节点,有且只有一个,国际惯例,再问面壁 -->
    <div>
      <van-button type="default">默认按钮</van-button>
      <van-button type="primary">主要按钮</van-button>
      <van-button type="info">信息按钮</van-button>
      <van-button type="warning">警告按钮</van-button>
      <van-button type="danger">危险按钮</van-button>
    </div>
  </div>
</template>
<config>
{
    ...
    usingComponents: {
      ...
      "van-button": "module:@vant/weapp/dist/button/index", // 坑の1所在地
      // 必须加上'module:',必须仿照这个格式
      // 对应vant文档:
      // https://wepyjs.gitee.io/wepy-docs/2.x/#/component/intro?id=%e4%bd%bf%e7%94%a8%e7%bb%84%e4%bb%b6
    }
}
</config>
本作品采用知识共享署名 4.0 国际许可协议进行许可。
This work is licensed under a Creative Commons Attribution 4.0 International License.
参考:https://www.jianshu.com/p/6e85dc141854